Deliverability•1 min read
Google Domains / Cloud DNS Setup Guide for Piisend Domain Verification
How to configure SPF, DKIM, MX, and tracking CNAME DNS records in Google Domains or Google Cloud DNS for Piisend.
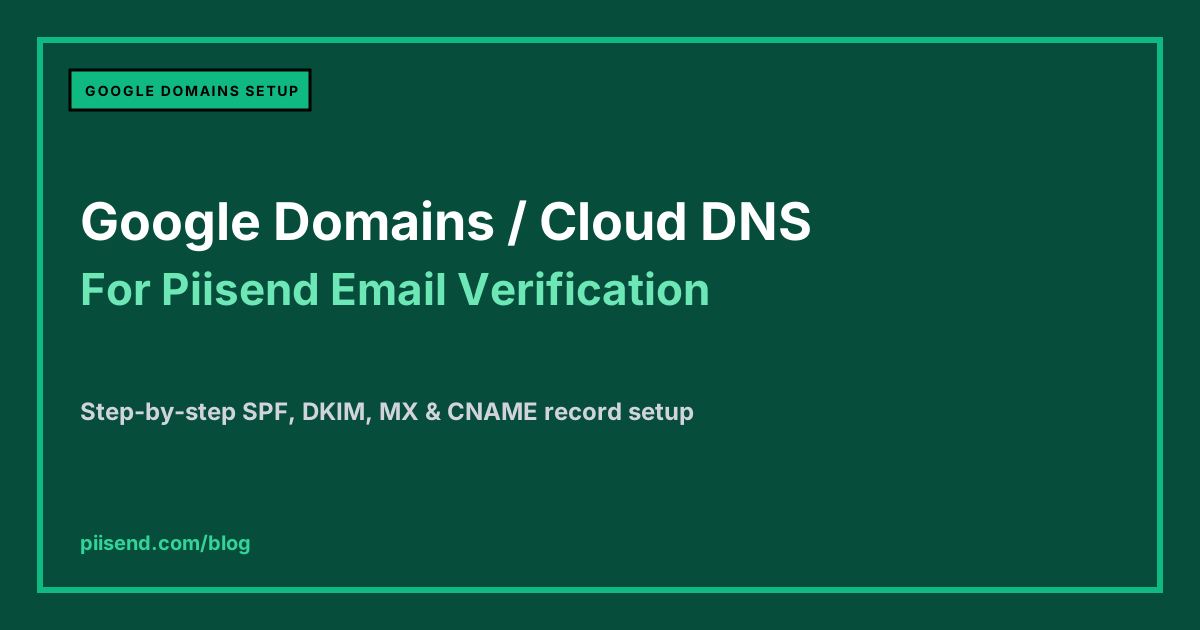
Step-by-step guide to configure Piisend DNS records in Google Domains (or Google Cloud DNS / Squarespace Domains) for your domain.
Step 1: Access Google DNS Settings
- Open your domain manager (Google Domains / Squarespace Domains or GCP Cloud DNS Console).
- Select your domain (
yourdomain.com) and navigate to DNS Settings -> Custom Records.
Step 2: Add Sending Records (SPF & DKIM)
1. SPF Record (TXT)
- Host / Name:
@(or subdomain likemail) - Type:
TXT - Data / Value:
"v=spf1 include:piisend.com ~all" - TTL:
3600(1 Hour)
2. DKIM Record (CNAME / TXT)
- Host / Name:
k1._domainkey(ork1._domainkey.mail) - Type:
CNAME - Data / Value:
dkim.piisend.com. - TTL:
3600
Step 3: Add Receiving Records (MX Records)
- Host / Name:
@(or subdomain likemail) - Type:
MX - TTL:
3600 - Data / Value:
10 mxa.piisend.com.10 mxb.piisend.com.
Step 4: Add Tracking Record (CNAME)
- Host / Name:
email(oremail.mail) - Type:
CNAME - Data / Value:
track.piisend.com. - TTL:
3600
Step 5: Save & Verify in Piisend
Save custom records and trigger domain verification inside your Piisend Dashboard.